Live Auction
Building your auction catalog
Add, edit, and organize your live auction items with ease.
Adding your auction items
To add a live auction item, click the Add Item button and enter its name.
The description, winning certificate, and images are optional, but we recommend adding a winning certificate — that way, when a bidder wins, they'll receive their receipt and certificate together.
The Save and Create option lets you add another item right away, without having to click Add Item again each time.
Editing an item
You can edit any item at any time, as long as no bid has been placed on it yet.
Using this option you can change the item name, description, image and also the winning certificate.

Duplicating an item
You can duplicate any item already in your list, even one that's been bid on or paid for.
Duplicating copies the name, description, image, and winning certificate — everything except the final bid — creating a fresh, unbid item.

Managing item visibility
Use the toggle to show or hide an item.
This is especially handy for last-minute additions: simply add the item with its details, keep it hidden, and make it visible only when you're ready.

Deleting an item
Click the trash can icon to remove an item from your list.
You can delete an item any time before payment is made — even if it's already been assigned a bid but not yet paid.

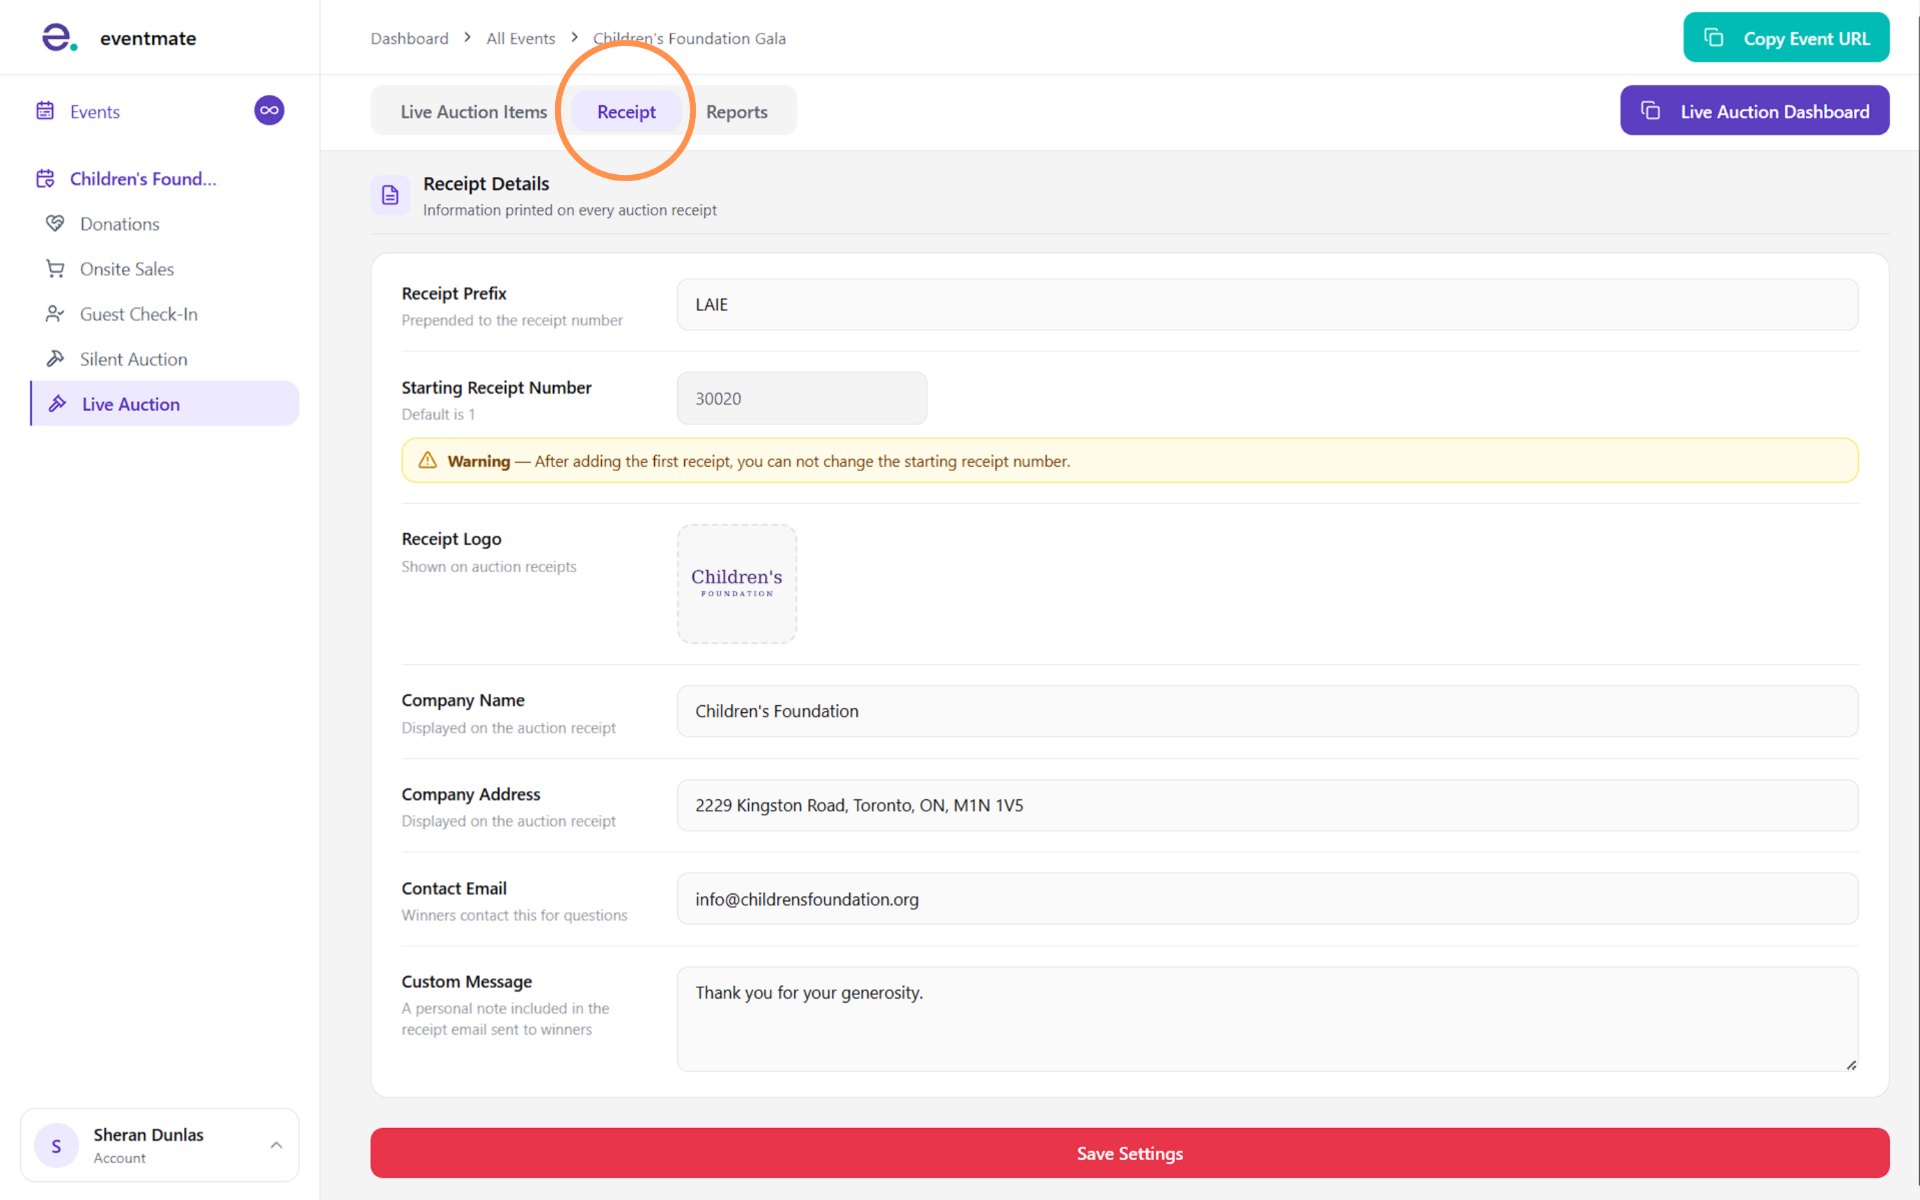
Setting up your receipt
After adding your items, open the Receipt tab and fill in the following details:
- Receipt prefix
- Starting receipt number
- Receipt logo
- Company name
- Company address
- Contact email
- Custom message
Completing these fields is what makes your receipts compliant. Once set up, bidders automatically receive their receipt as soon as they pay.